Laptops
How to use a laptop as a monitor
Looking to use an old laptop to improve your home office setup? Here is the simplest way that you can use another laptop as a second monitor.
Having two monitors accessible can be vital for some people; whether you need multiple tabs and spreadsheets open to work or you prefer to game with even more screen space, knowing how to use your laptop as a monitor will come in handy more often than you think.
Thankfully, setting up your laptop as an extra monitor shouldn’t be too tricky, though you may need an extra few accessories to make it work.
Keep reading to find out one of the easiest ways to use a laptop as a second monitor.
What we used
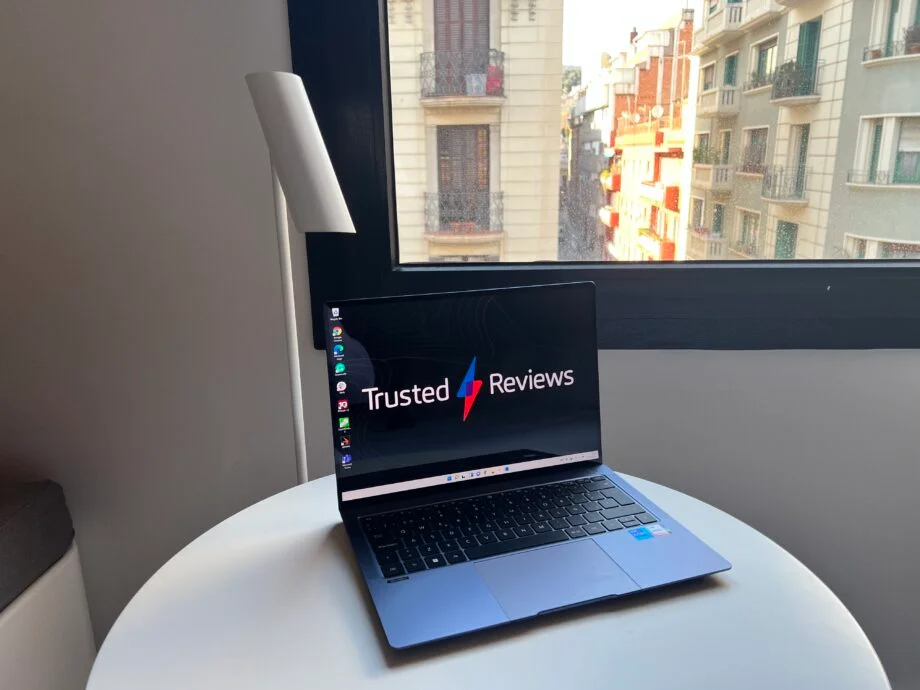
- We used the Huawei MateBook X Pro (2022) and the Huawei MateBook D 16 (2022), both running Windows 11, as well as a USB-C to USB-C cable
The Short Version
- Connect the USB-C to the first laptop
- Connect the USB-C to the second laptop
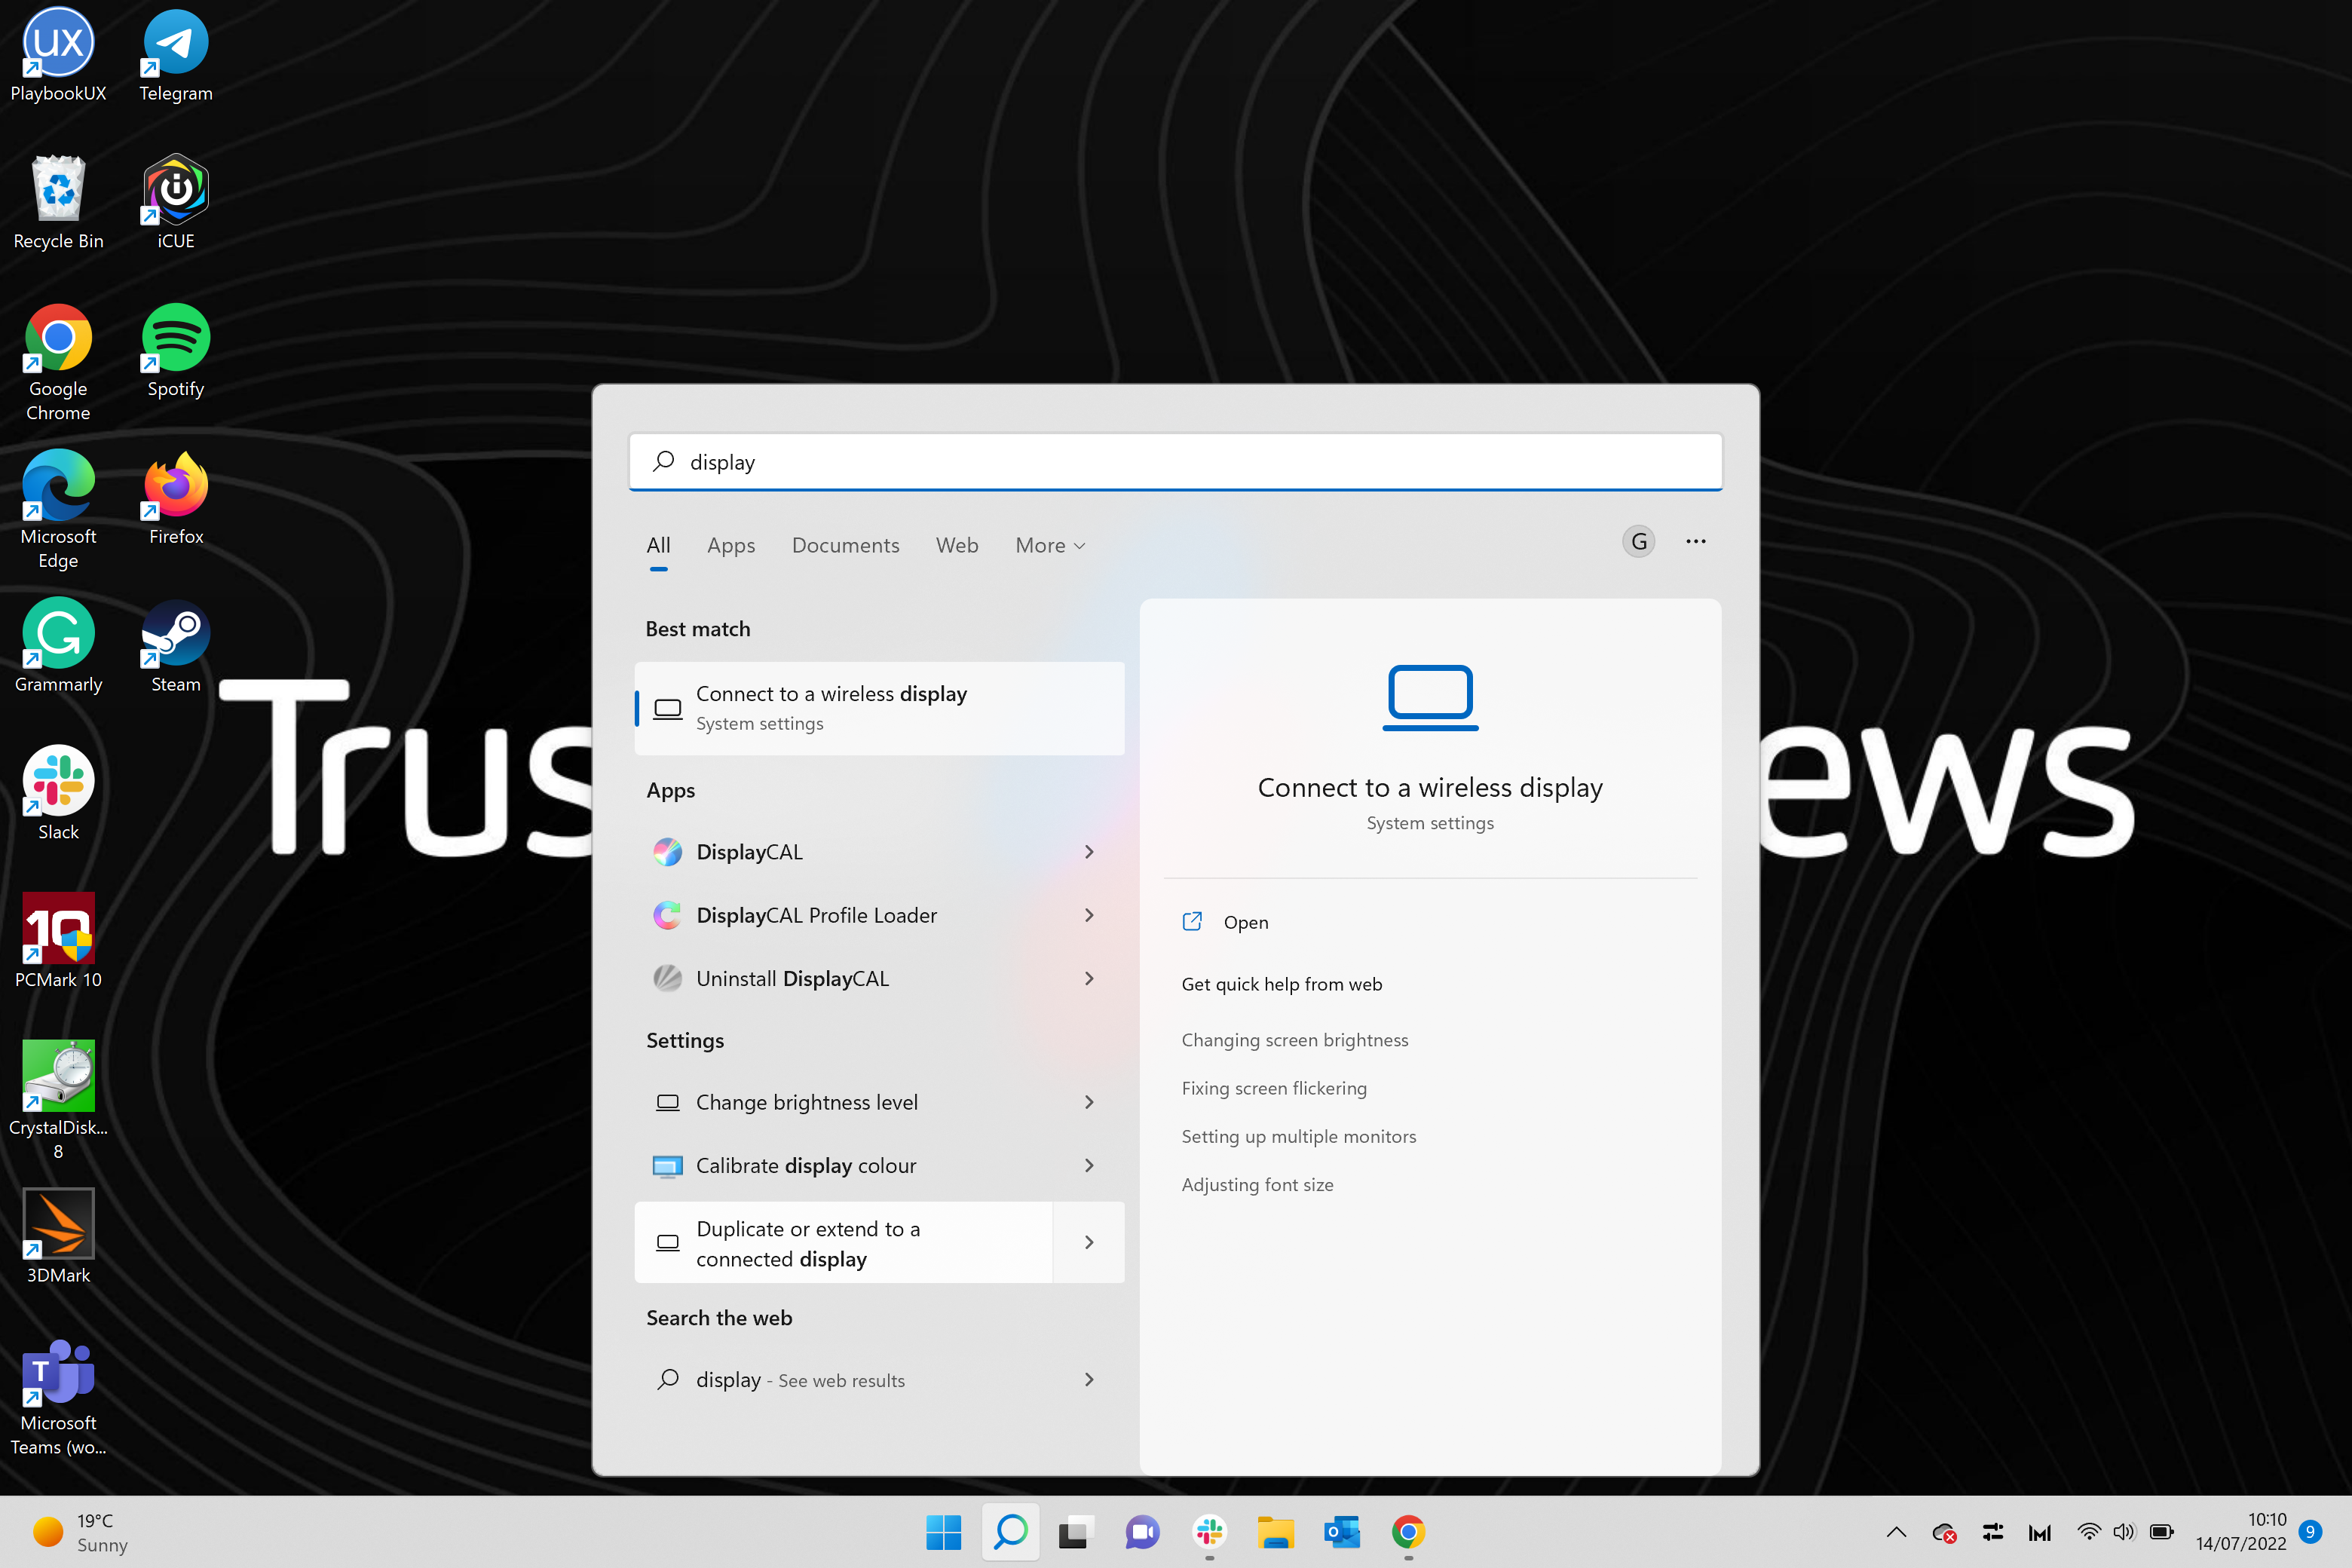
- Press the Windows key on the main laptop
- Type in Display
- Click on ‘Duplicate or extend to a connected display’
- Click on the ‘Duplicate these displays’ button
- Click Extend these displays
- Press Keep changes
Step 1
Connect the USB-C to the first laptop
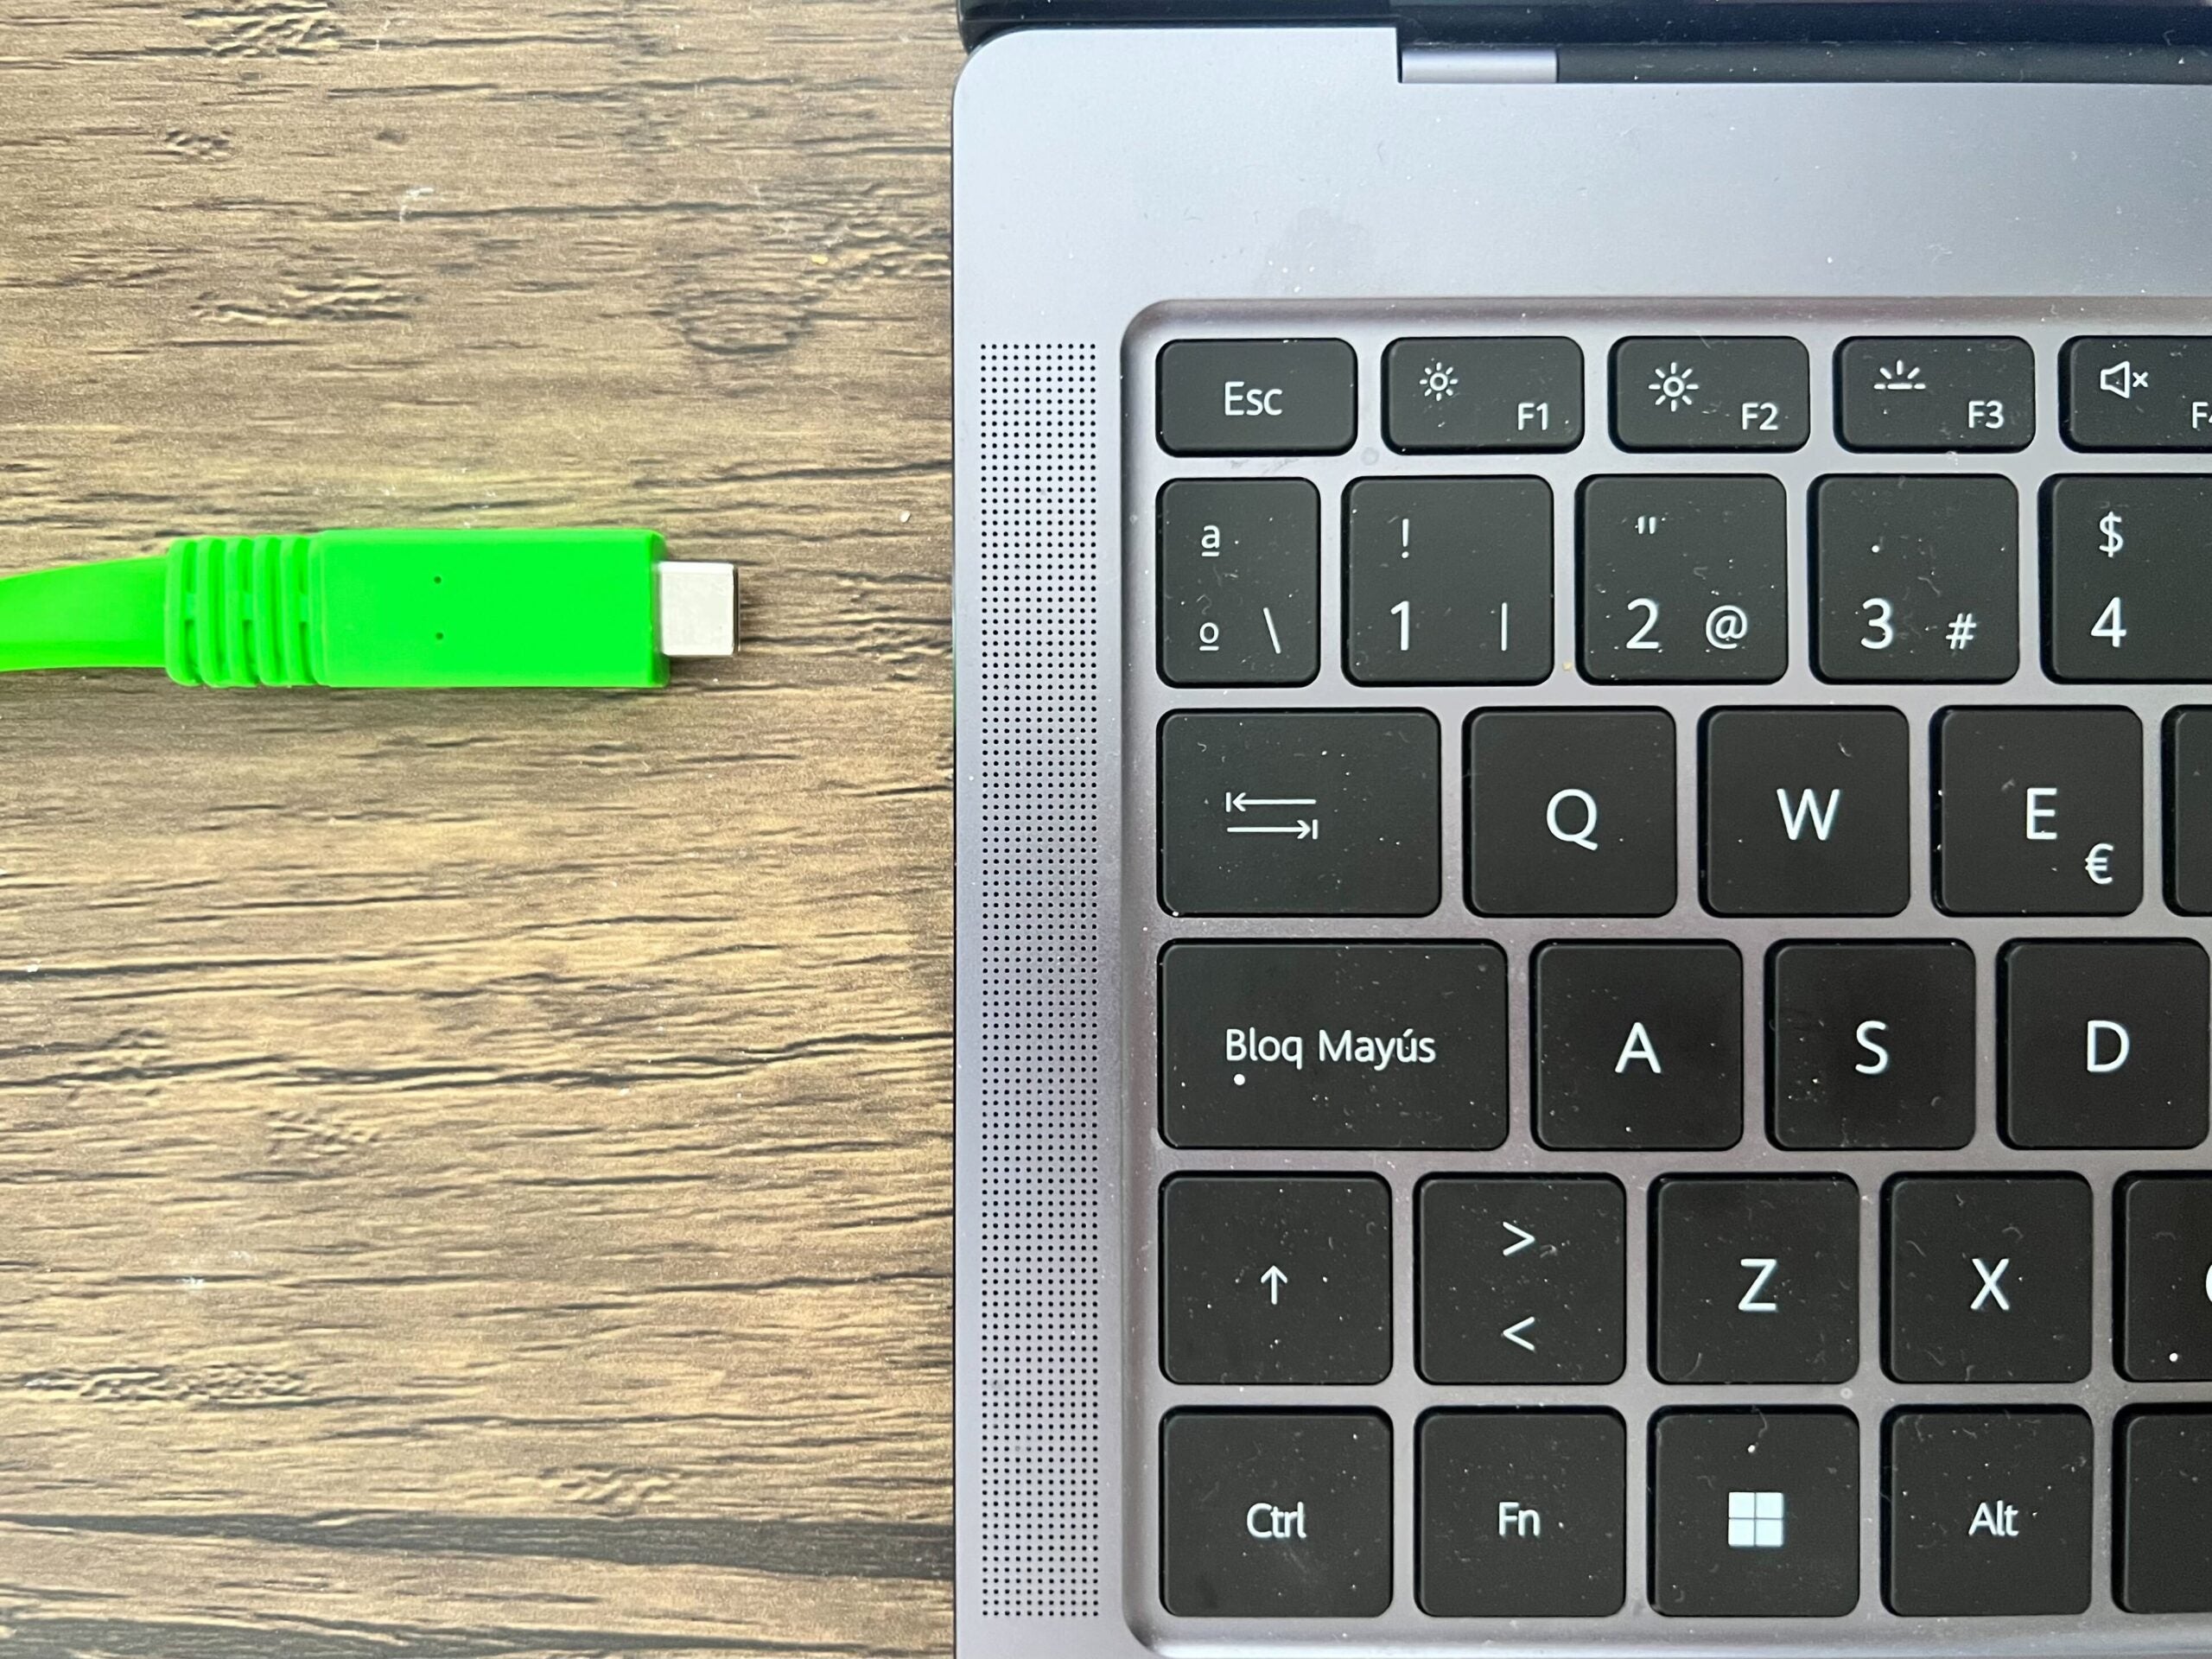
It’s important to note that you may not need a USB-C to USB-C cable to connect your two laptops together. Step one and two revolves around using USB-C cables, however, you can also connect the laptops via Bluetooth by going into Settings. You can also click the Windows and P button at the same time to extend your display, or use an HDMI cable instead. Some laptops will have different ways of connecting, so we recommend testing out which method works best for you.
Once you have connected the two laptops, via USB-C or otherwise, you can follow along from Step Three and onwards.Step 2
Connect the USB-C to the second laptop
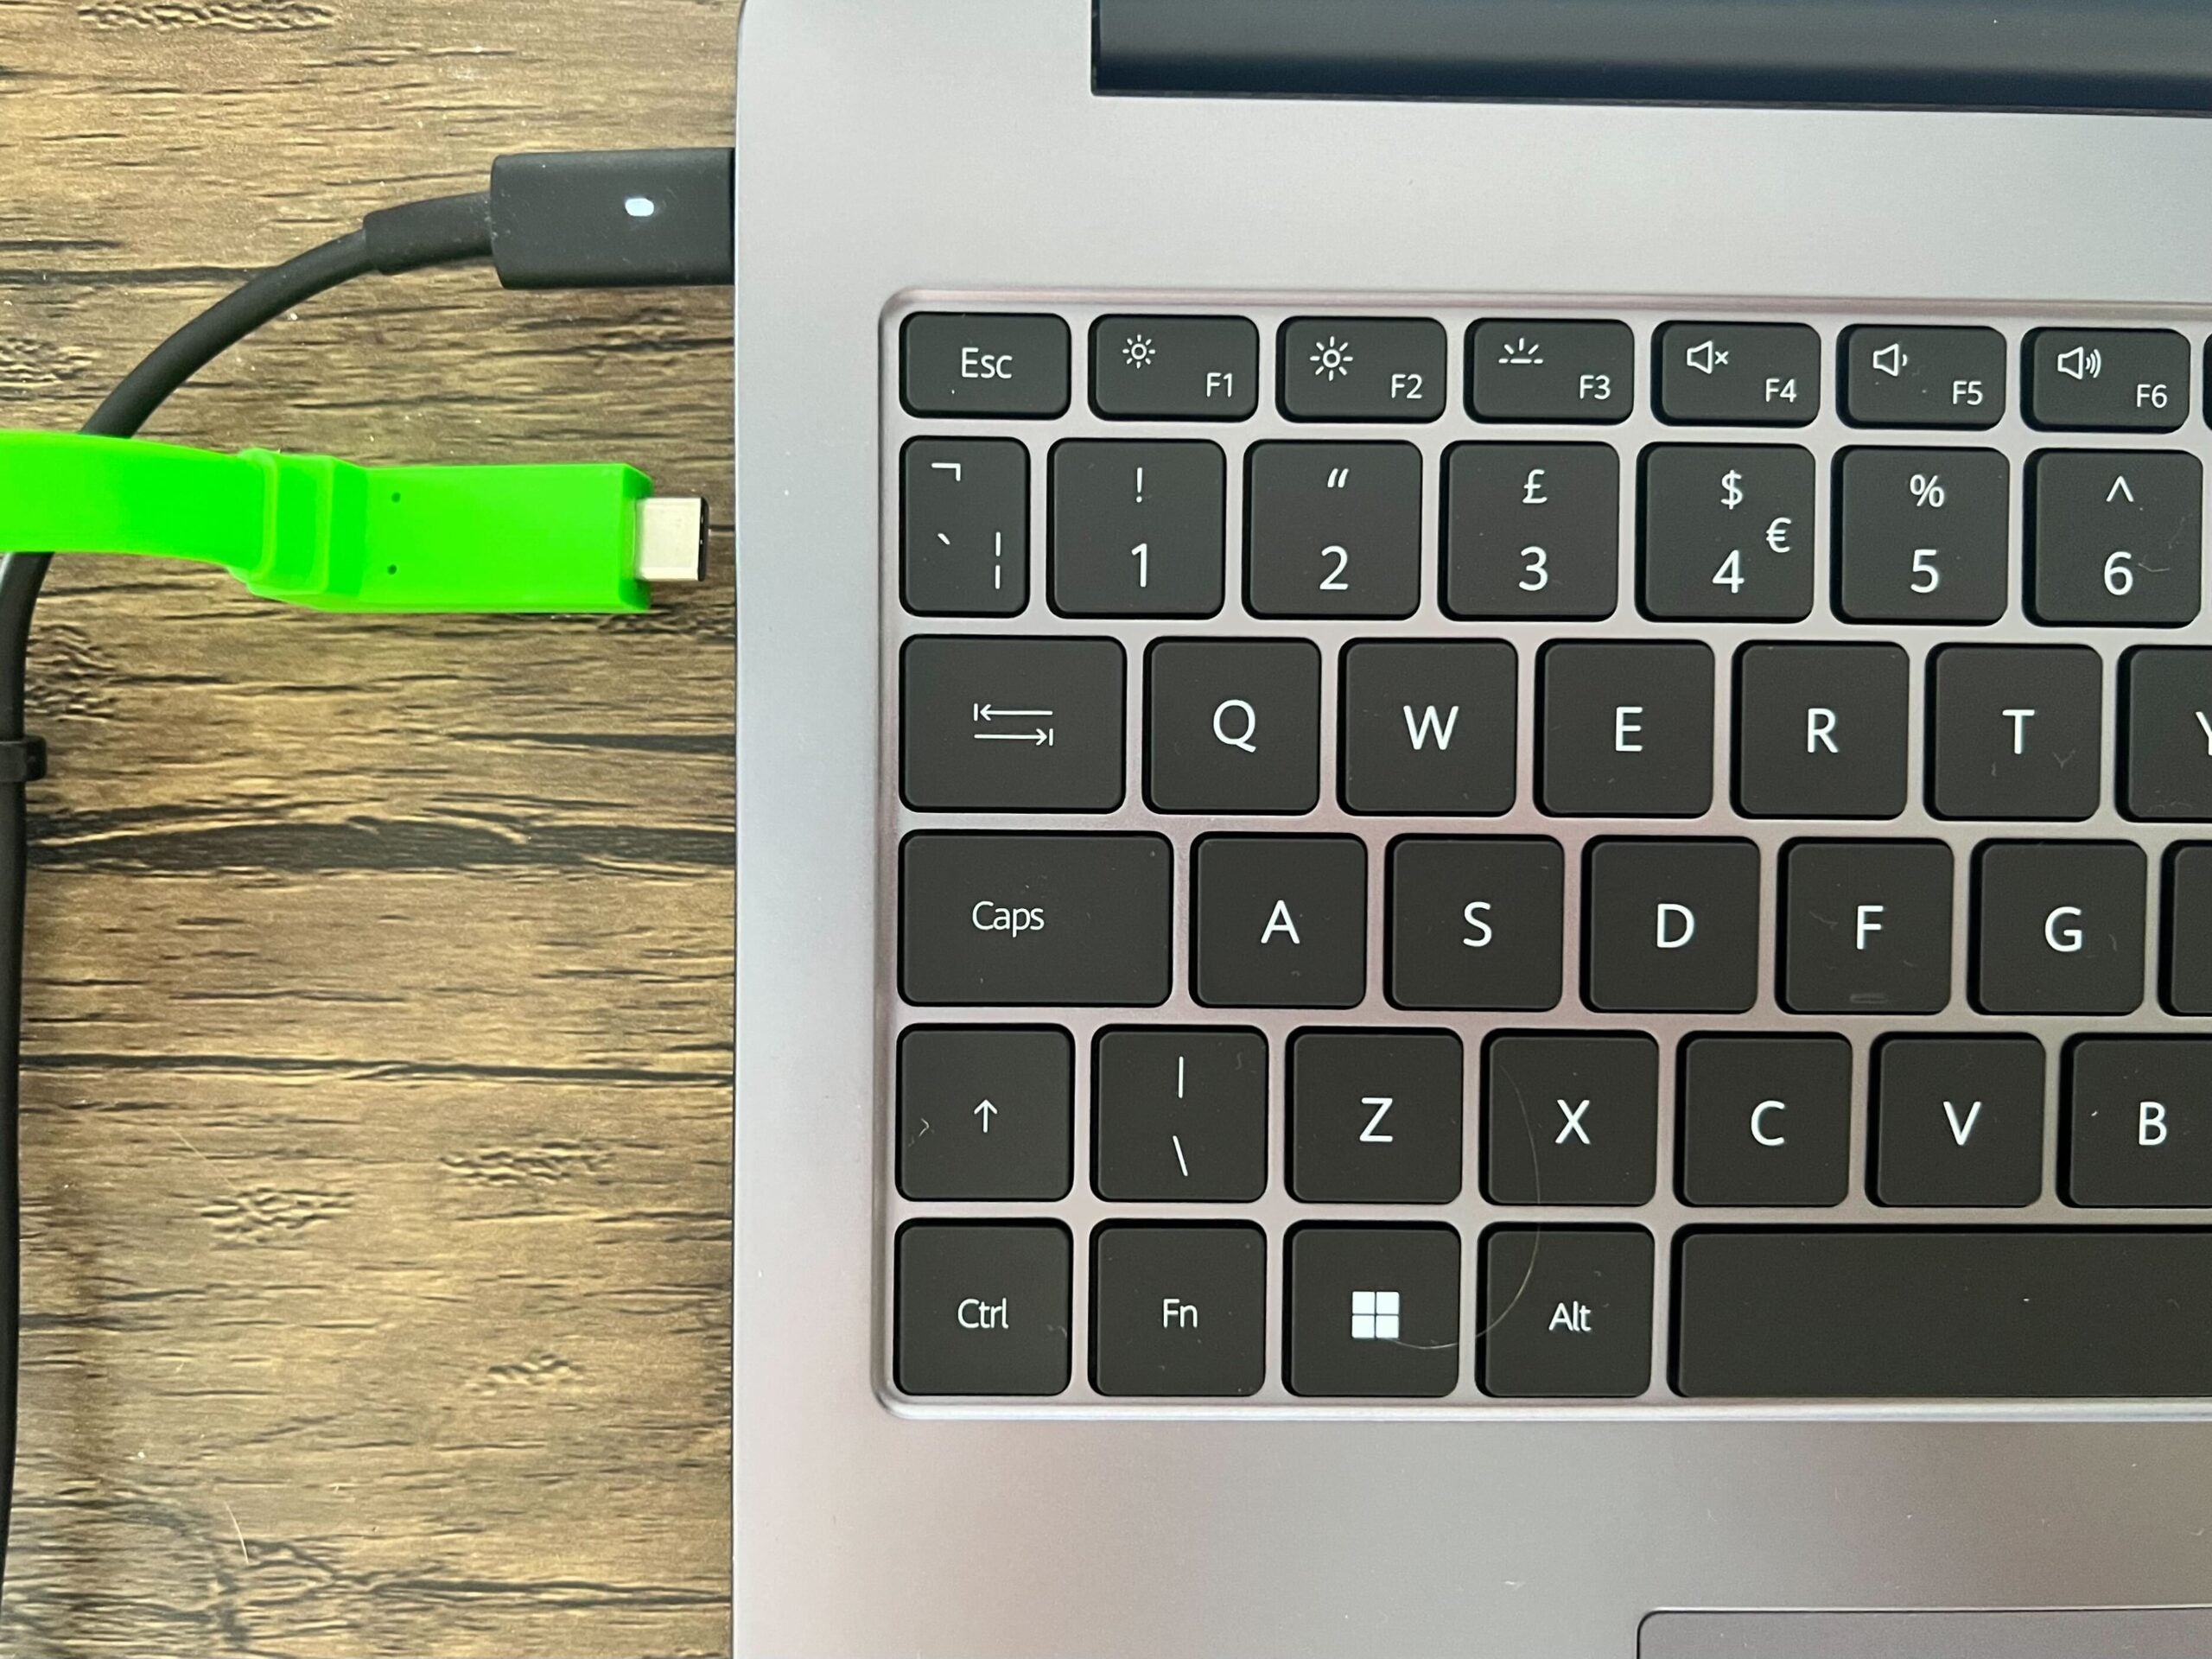
Once you have connected the USB-C cable to the first laptop, do the same with the second laptop.
Step 3
Press the Windows key on the main laptop
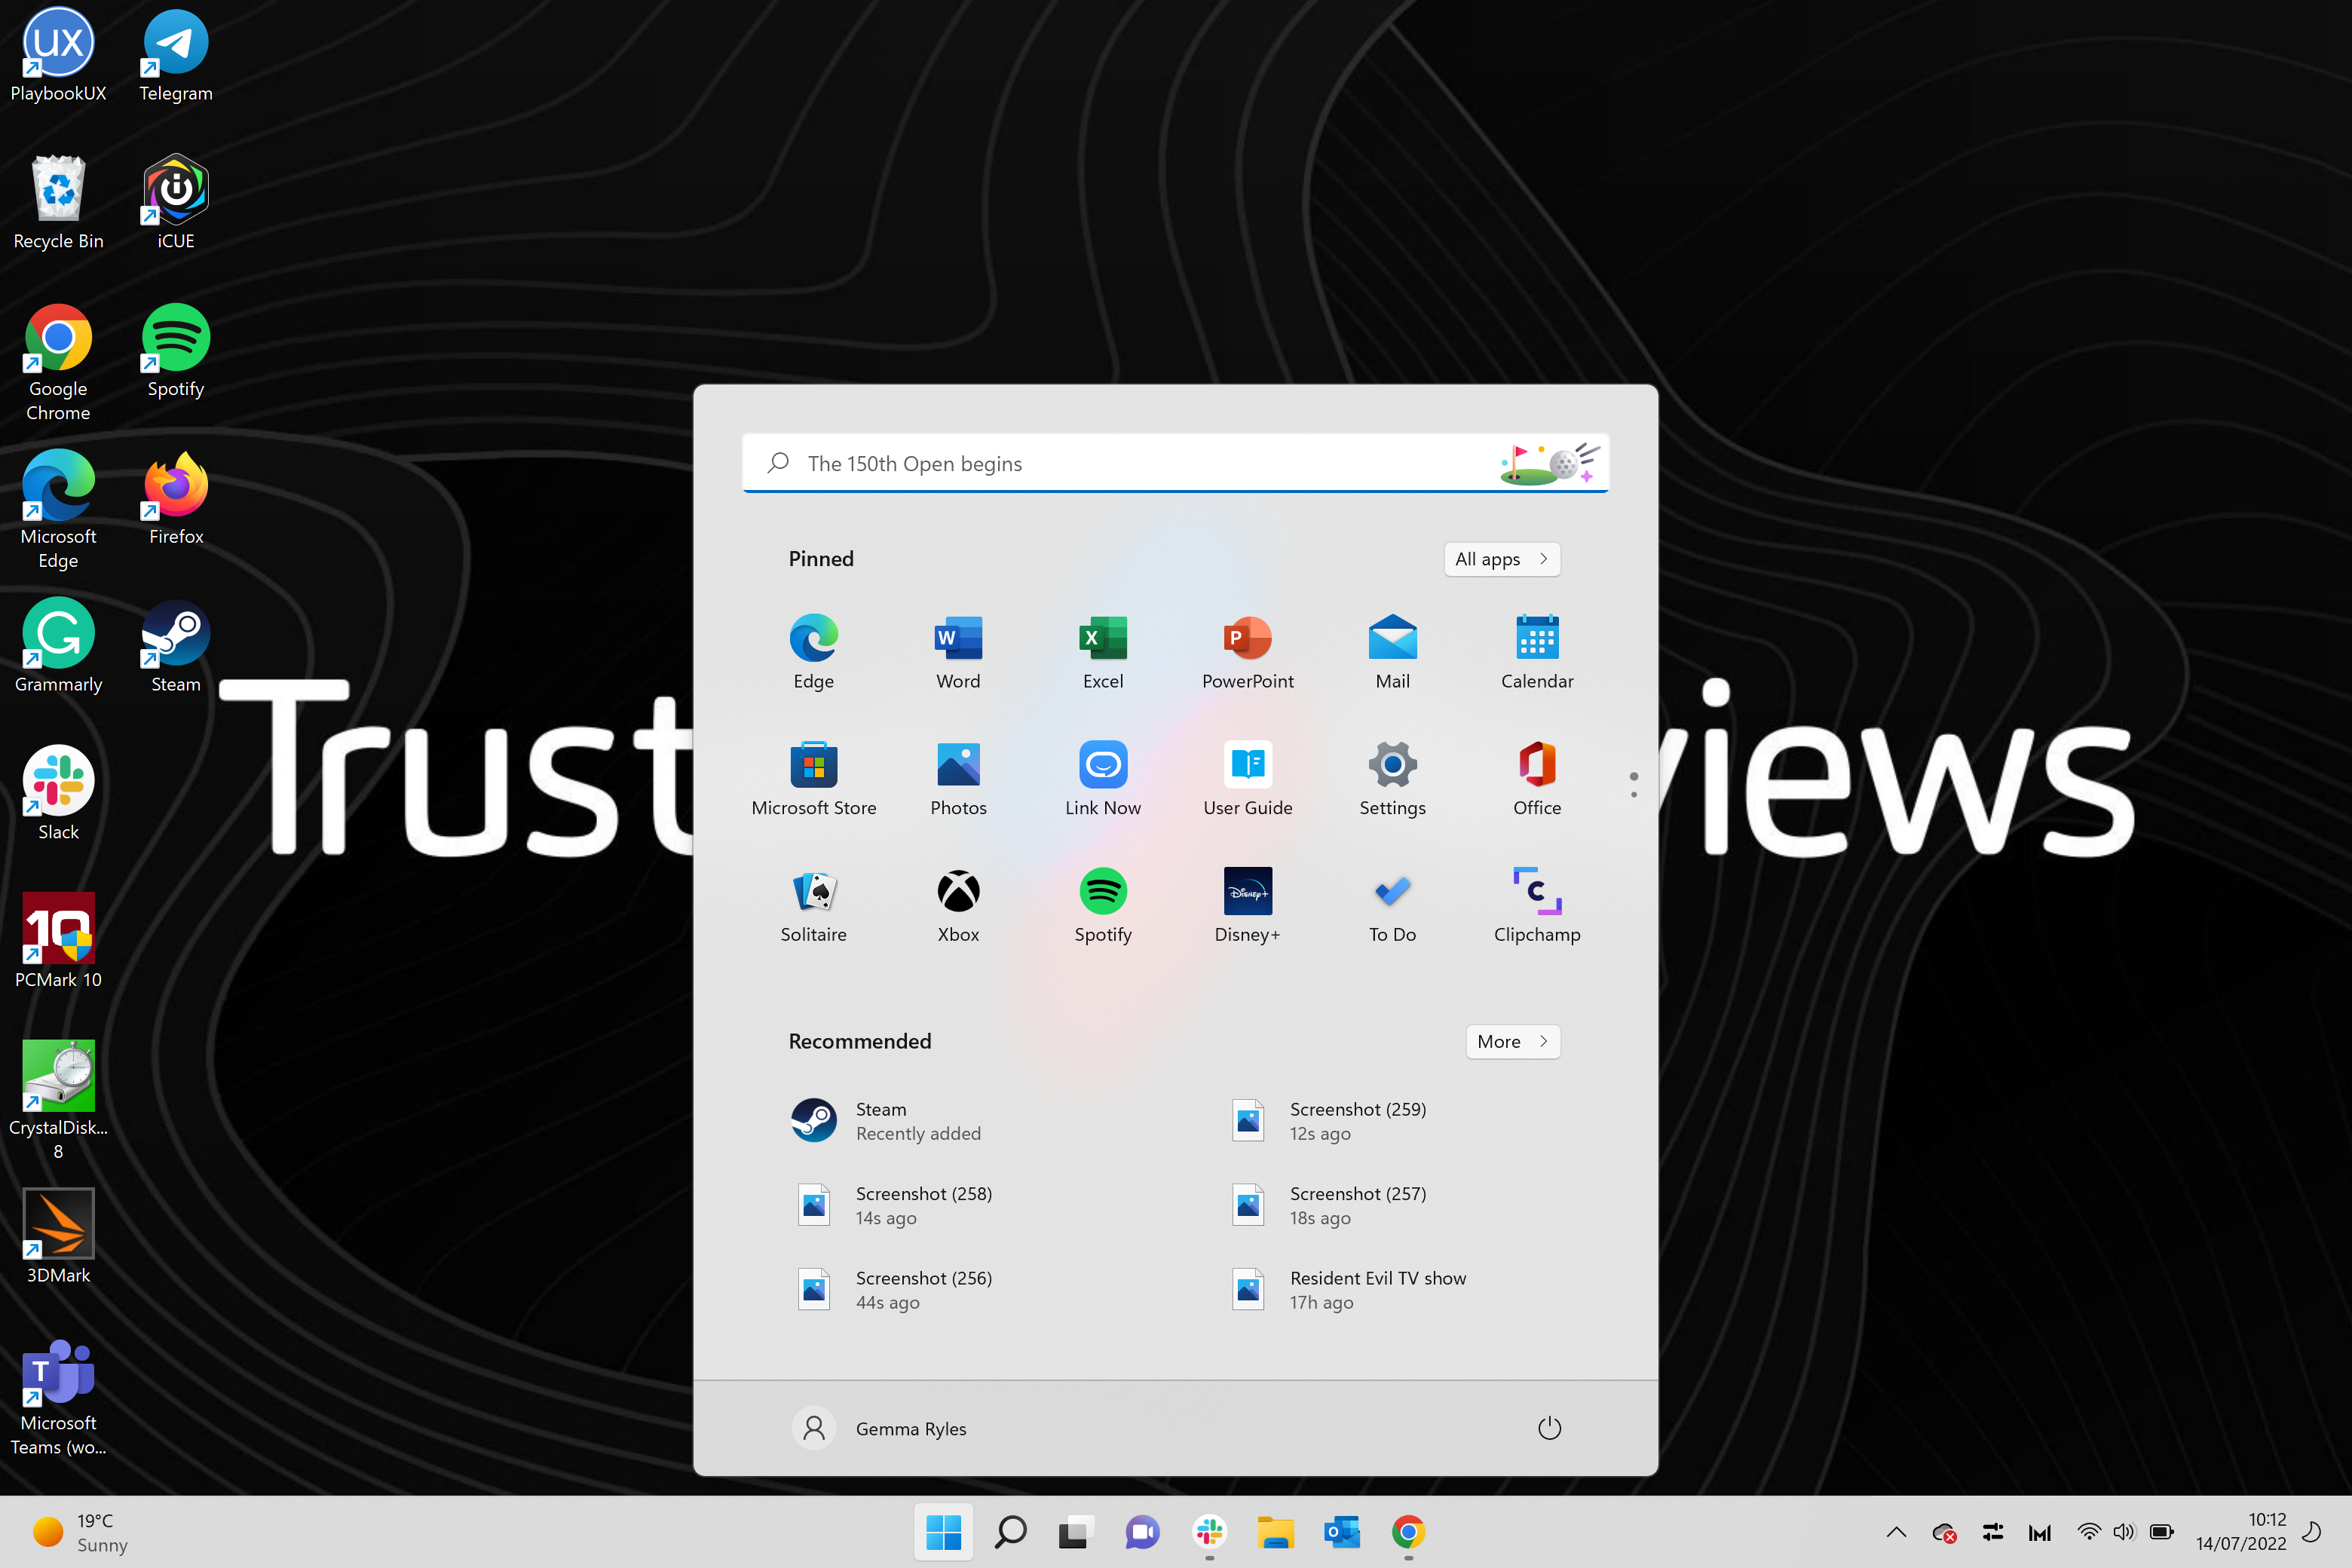
Click on the Windows key on the keyboard of the primary laptop.
Step 4
Type in Display
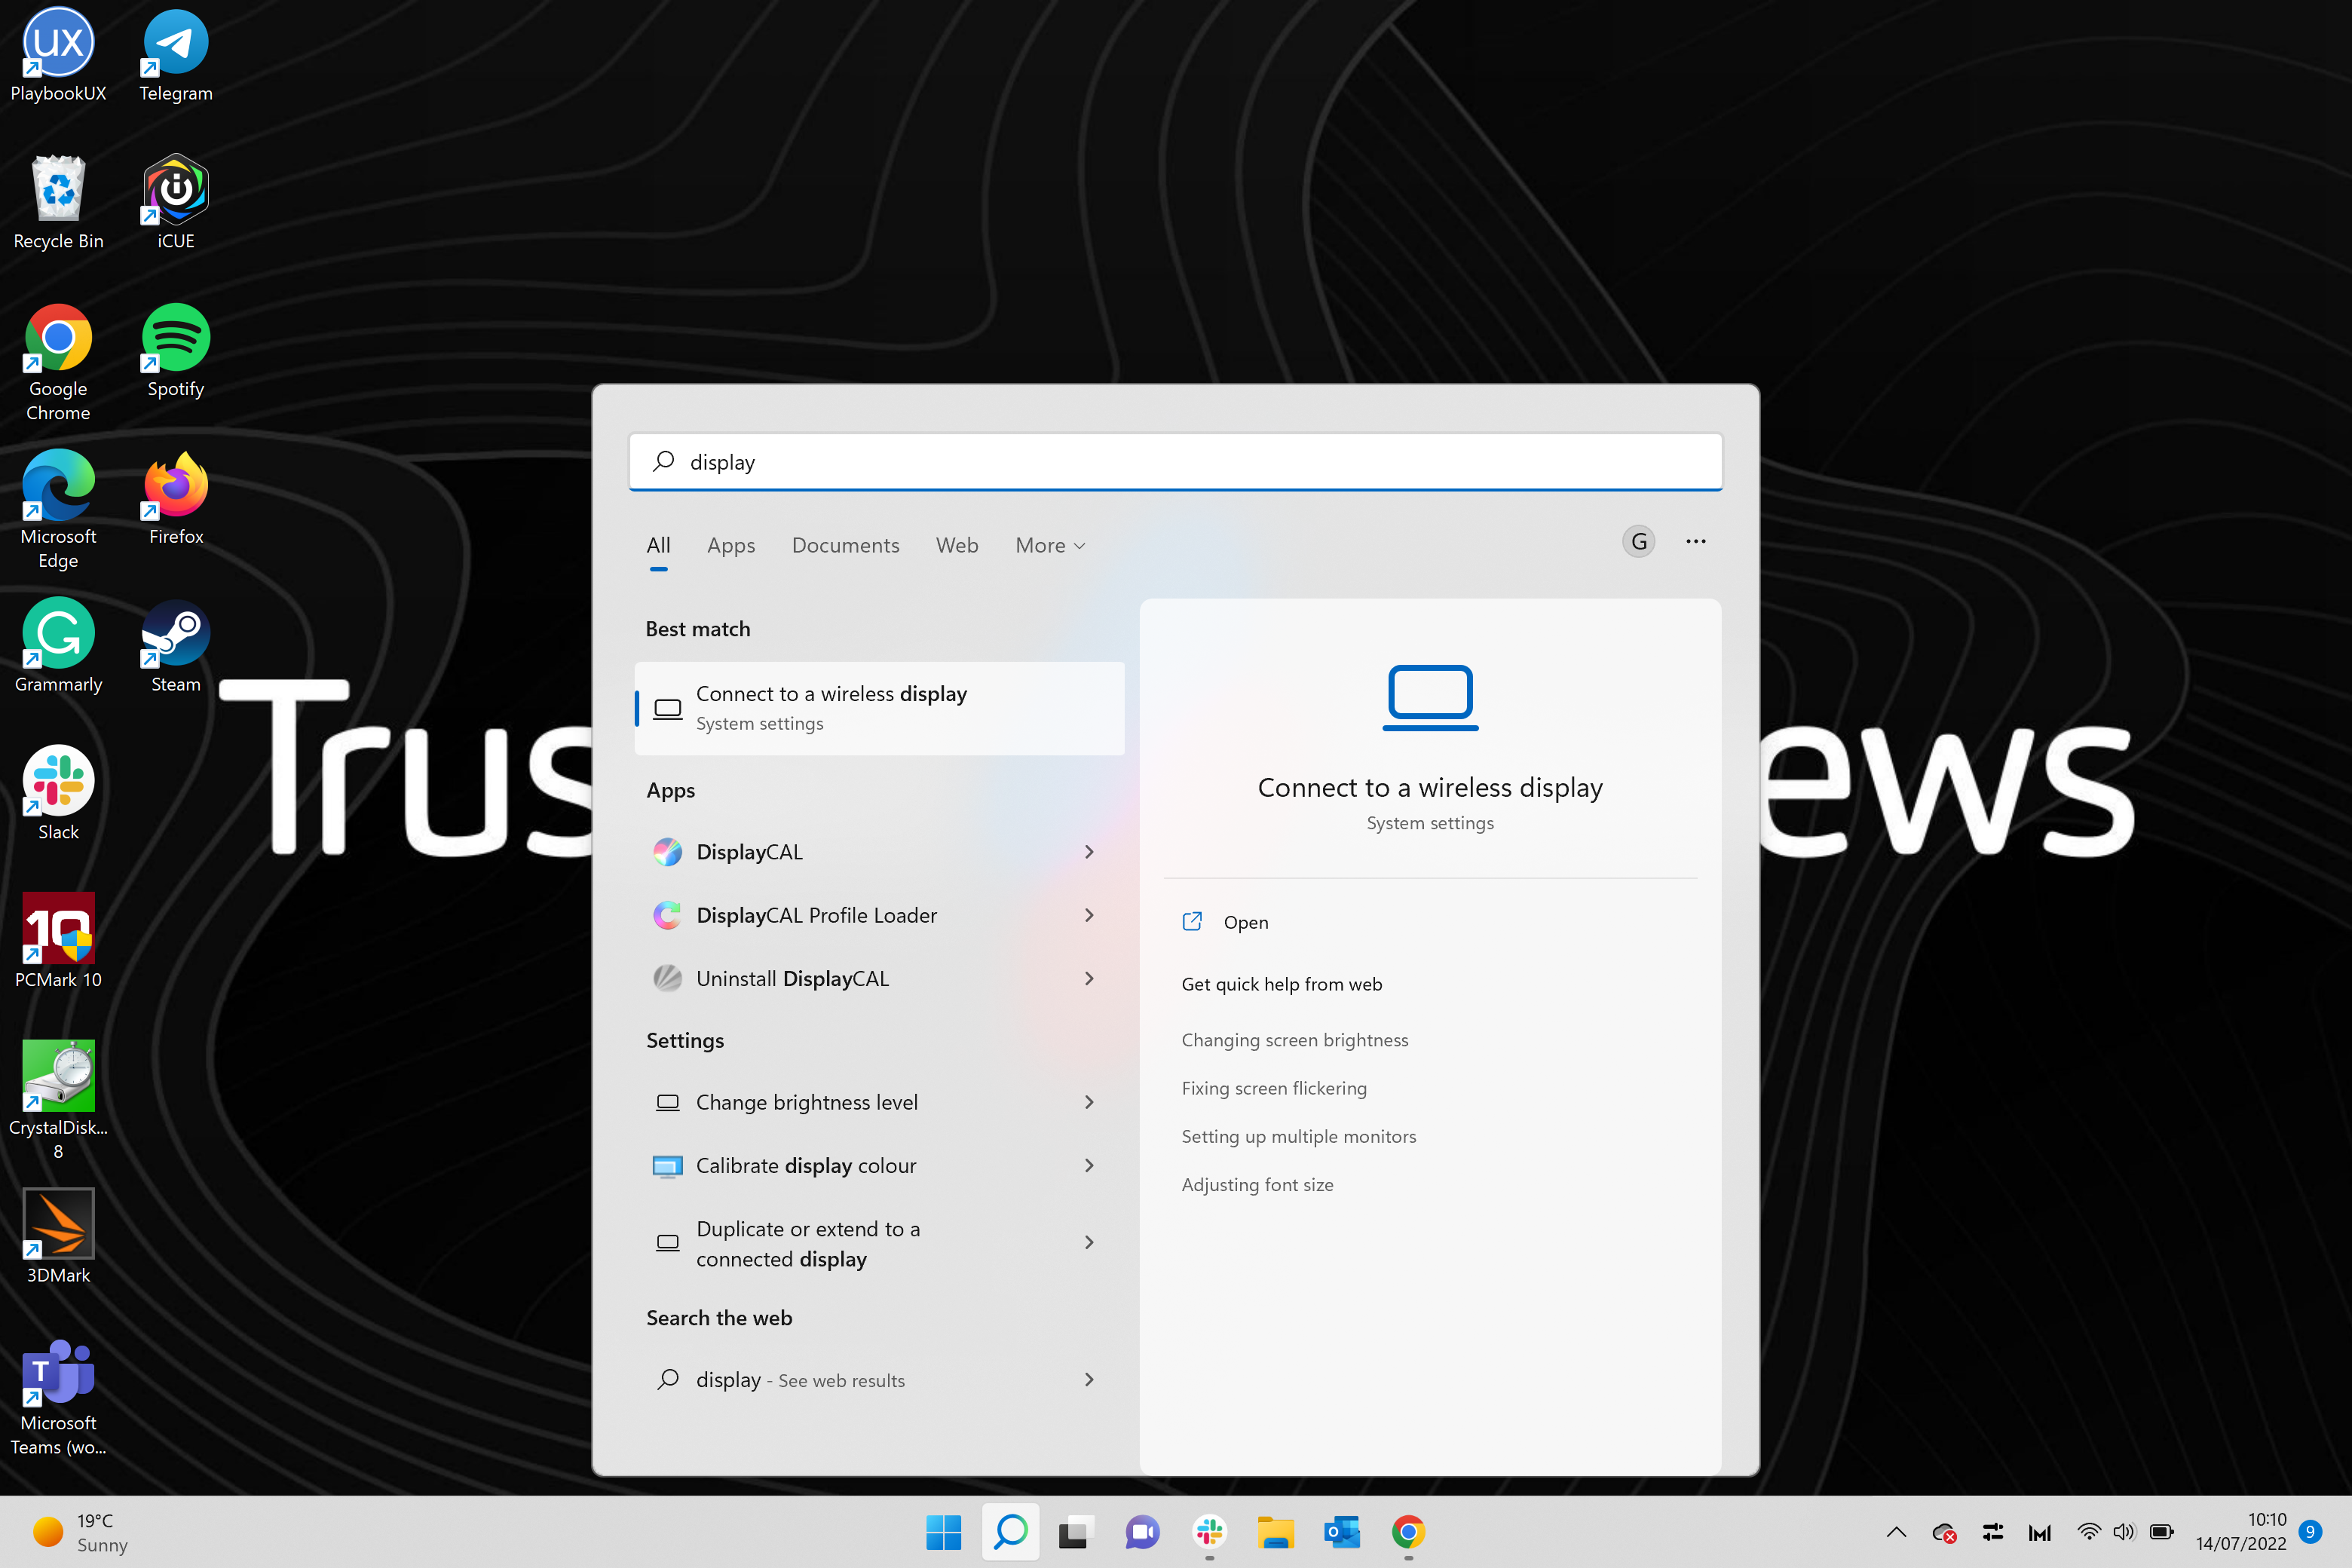
Type the word Display into the Windows search bar.
Step 5
Click on ‘Duplicate or extend to a connected display’
Out of all the options available, click on the button that says Duplicate or extend to a connected display. If this option does not appear for you, you can click on the general Display settings and find this option there.
Step 6
Click on the ‘Duplicate these displays’ button
Once you are in the Display settings you should see a large blue box, that shows that your displays are connected. If your screen does not show that your display is connected, you may need to go back to Steps One and Two and ensure that your connection is working for your laptops.
If they are, click on the button that says Duplicate these displays. Is it a grey box and is on the far right-hand side under the large blue box.Step 7
Click Extend these displays
Out of the options presented from the drop-down menu, click on the option that says Extend these displays.
Step 8
Press Keep changes
Once clicked your screen may go black for a second. Once it returns there will be a pop-up message. Click on the option that says Keep changes to keep the screens extended.
Source: https://www.trustedreviews.com/how-to/how-to-use-a-laptop-as-a-monitor-4249707